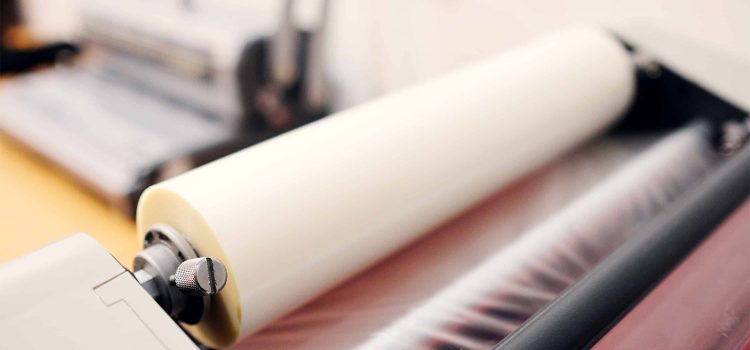
Lamination is a great way to protect documents, photos, and other items from damage. When using lamination paper, it’s important to follow the directions carefully in order to get the best results.
First of all, make sure you choose the right type of paper for your project. Lamination paper comes in different thicknesses, so choose a thickness that will provide the protection you need. You should also consider the type of document or item you are laminating, as certain types may require a specific type of paper to ensure maximum durability.
Once you have selected your lamination paper, it is time to prepare it for use. Cut off any excess material around the edges, as it can interfere with the lamination process. Also, double check to make sure that both sides of your paper are clean and free from dust or other debris.
When you are ready to begin laminating, place the document inside the paper. It is important to keep in mind that you only need a couple of inches of overlap when laminating. Too much overlap can cause the laminate to be too thick, resulting in a distorted or blurred picture.
Once your document is inside the paper, it’s time to run it through the lamination machine. Some machines require you to press down on top of the paper while others just need you to insert the paper into the opening. Follow the instructions of the lamination machine to make sure your document comes out looking perfect.
Lamination paper tips for maximum protection and durability
When using lamination paper, take extra care to make sure your document is properly aligned and centered in the middle of the paper. This will help ensure that all edges are completely sealed and protected from dirt and water damage.
Also, make sure that you only use a laminator machine with adjustable heat settings. Too much heat can cause the laminate to bubble and warp, resulting in an uneven finish.
Finally, it is important to remember that lamination paper can become brittle over time. To ensure maximum protection and durability, store your documents in a cool and dry place away from direct sunlight. This will help preserve the life of your documents for years to come.
How to remove lamination
If you need to remove lamination from paper, the process can be done using heat. Start by running a hairdryer over the laminated section for two minutes. This should loosen up the adhesive. Then carefully peel away the lamination from one corner of the document and remove it completely. Once all of the laminate is off, you can finish up by wiping the document down with a damp cloth.
8 benefits of using lamination paper in your projects
Lamination paper can provide many benefits when used correctly. Here are some of the main advantages:
- Enhanced durability: Lamination protects documents and photos from dust, dirt, and water damage.
- Improved presentation: Laminate gives a professional look to documents, making them look more presentable.
- Increased longevity: Laminated documents can last longer than their unlaminated counterparts.
- Reduced wear and tear: Lamination prevents documents from becoming creased or torn over time.
- Improved readability: The laminate coating helps to make text easier to read, even in bright light conditions.
- Enhanced security: Laminated documents are more difficult to alter than their unlaminated counterparts.
- Low maintenance: Laminated documents require little upkeep and can be wiped clean easily if needed.
- Cost-effective: Lamination is an affordable option for protecting documents and photos in the long-term.
